Introduction
Midjourney is launched a new and function, /describe, allowing users to merge style and content seamlessly. This feature offers an approach to inserting an image and detailing its description, providing a fresh way to create visual content. This article explores the exciting capabilities of the /describe function and provides a step-by-step guide on leveraging its potential to produce unique and engaging images.
The goal
At the end of this blog, you will be able to pick an image as inspiration and generate your desired output from this. In this tutorial we’ll start with the robot style of this webpage and work towards a similar robot drinking a starbucks coffee.

1. Finding an style inspiration image
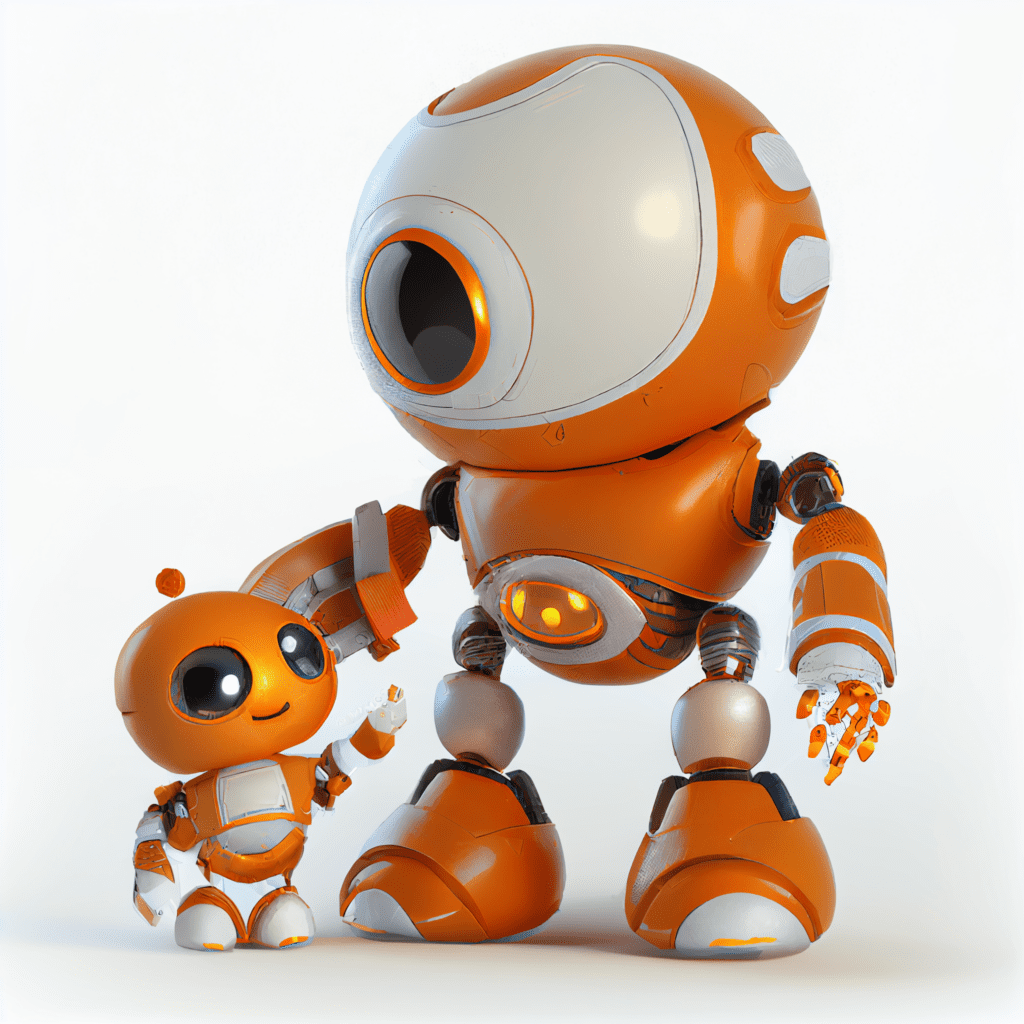
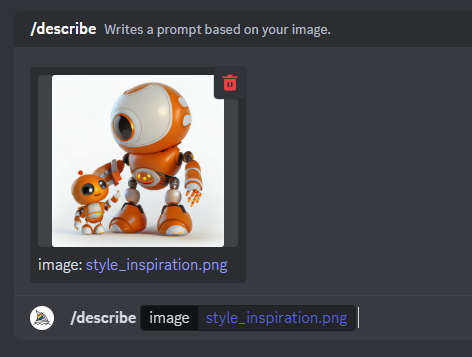
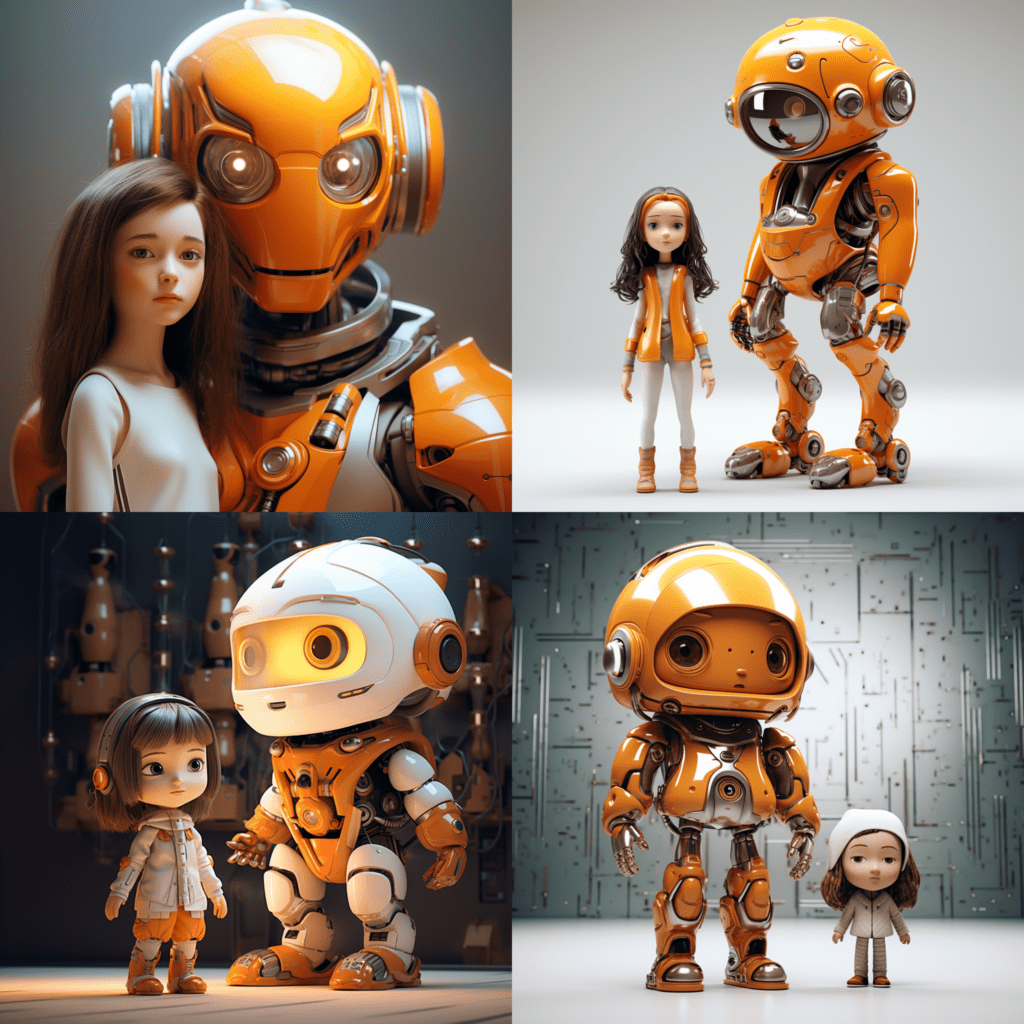
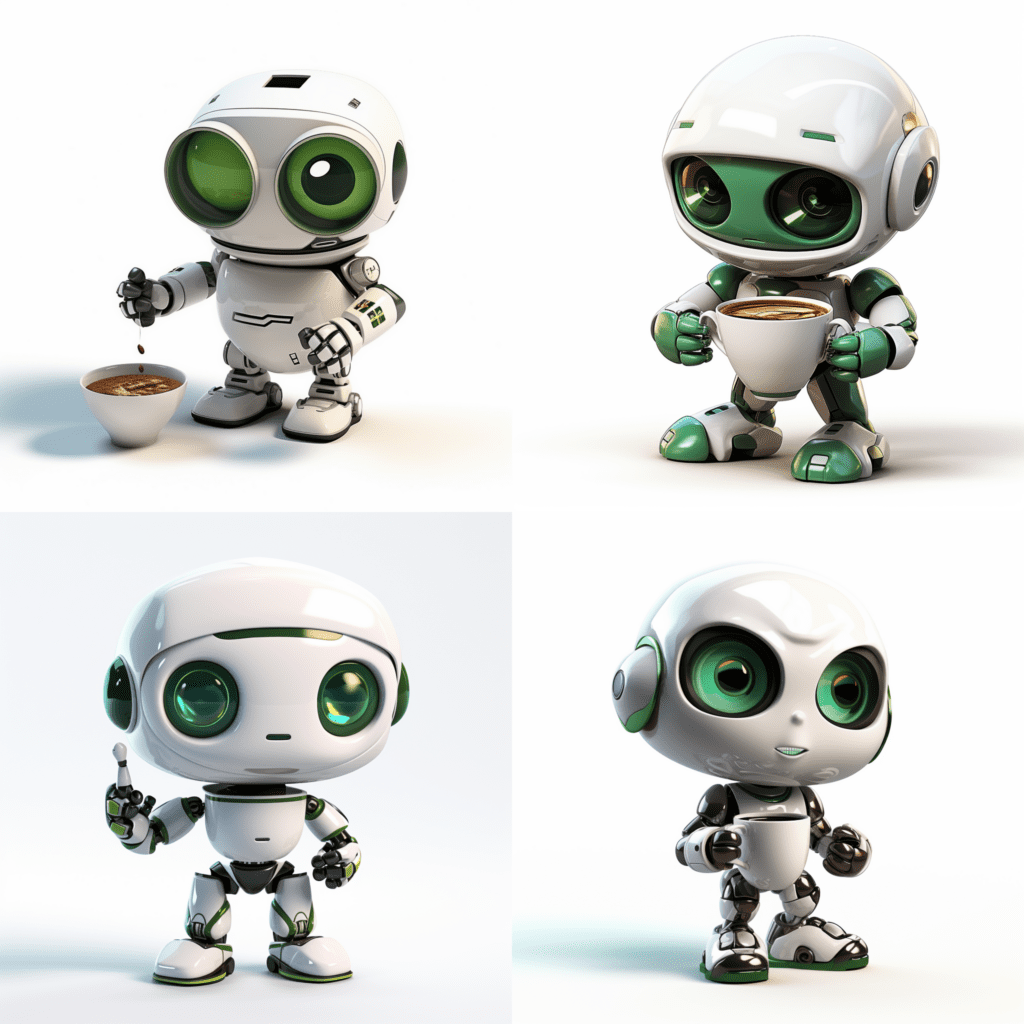
To start using the describe function, you can choose a style which you like. In this example I will try to use the inspiration from the robots on this website. Search around and find the image that you like and save it to you computer. In this tutorial, we’ll use the following image as a style inspiration. You can use your own, or just download this image.
2. Open Midjourney in Discord
To use Midjourney, you need to open it in Discord. In this tutorial, I am assuming you have Midjourney access. If you have not, please check their website to get started. You can use the Midjourney bot to test your commands, or put them in the newby channel if you have a free account.
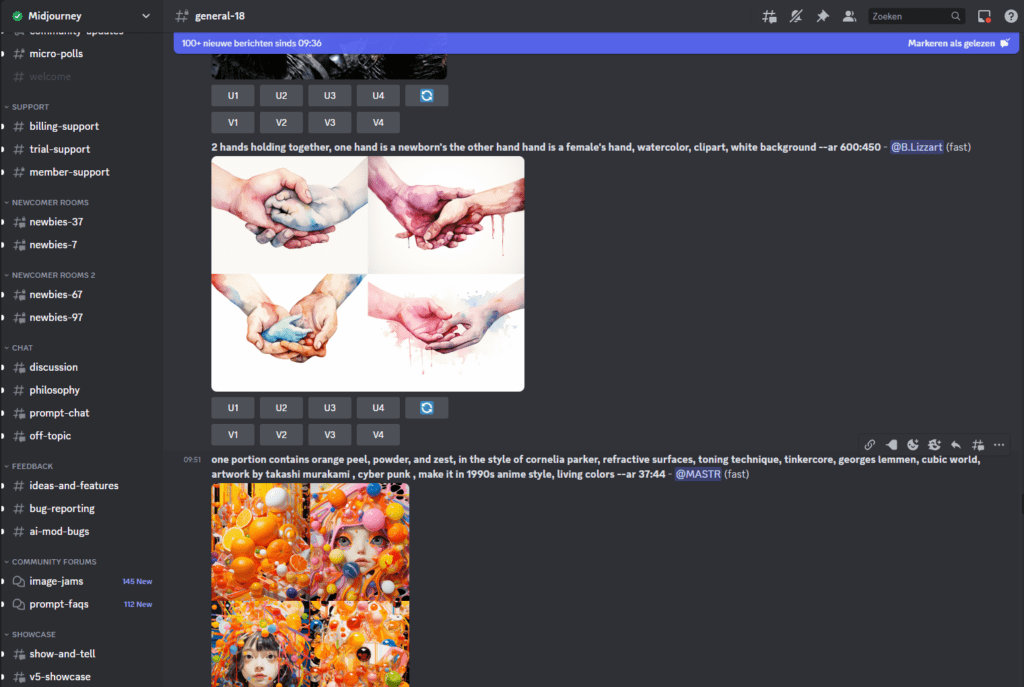
3. Time to use the /describe function
Now that we have access to discord, we can use the /describe function. To use this, just type /describe in the chat. Midjourney will give you the possibility to upload a file. Upload the file you want to use as inspiration.
4. Understanding the output
Here, the output will be different for every image. However, due to the un-predictability of generative AI, the output will even differ when using this command for the same image. This can be explained because every generative AI model has a partly random input.
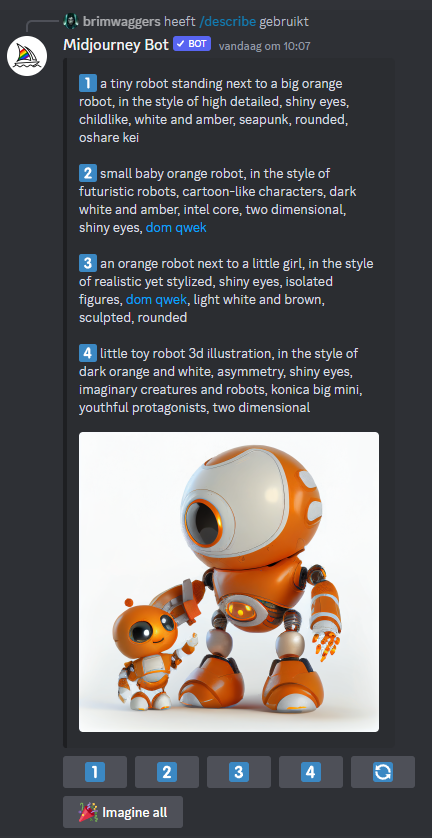
In this case, the model gives the following 4 text outputs:
1️⃣ a tiny robot standing next to a big orange robot, in the style of high detailed, shiny eyes, childlike, white and amber, seapunk, rounded, oshare kei

2️⃣ small baby orange robot, in the style of futuristic robots, cartoon-like characters, dark white and amber, intel core, two dimensional, shiny eyes, dom qwek

3️⃣ an orange robot next to a little girl, in the style of realistic yet stylized, shiny eyes, isolated figures, dom qwek, light white and brown, sculpted, rounded

4️⃣ little toy robot 3d illustration, in the style of dark orange and white, asymmetry, shiny eyes, imaginary creatures and robots, konica big mini, youthful protagonists, two dimensional
So here we have the Midjourney explanation of our image. We turned the image that we have into a piece of text. However, of course, we are missing a lot of the information from the original image. Therefore, Midjourney gives the possibility to recreate the image, based on the description given above.
For now, we will not go into the details of these descriptions. We will tweak this at a later stage, but for now we’ll accept everything that is in there.
5. Using the output of /describe as new input
After we have the textual description of our input image, we can use this to recreate the same images and see where we end up. There are 6 possibilities. You can press 1-4 for the different inputs, recreate all descriptions or just imagine all, creating all outputs for these descriptions.
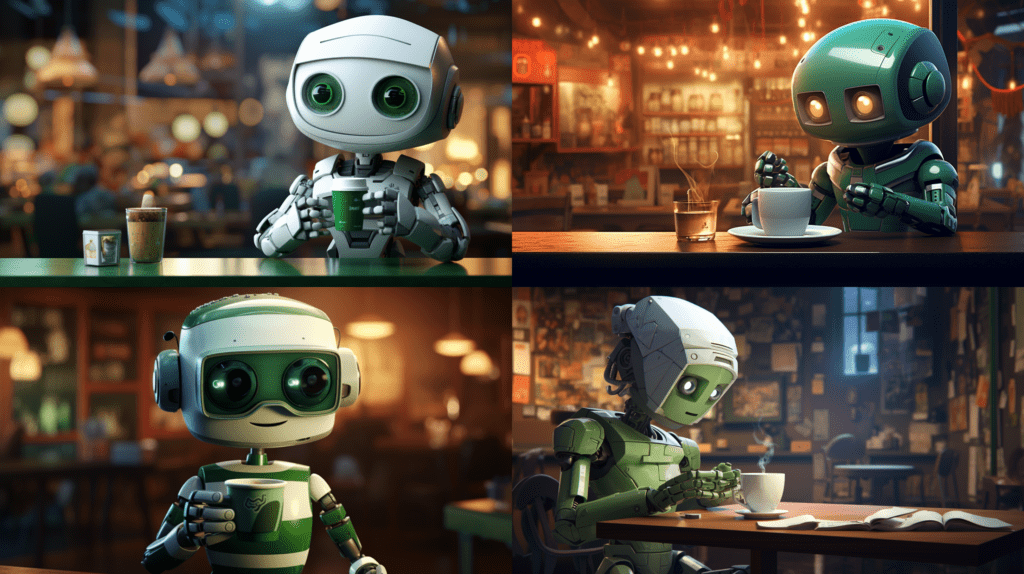
There is some information lost when converting from image to text, so let’s see what Midjourney comes up with when we recreate all the descriptions (Imagine All).
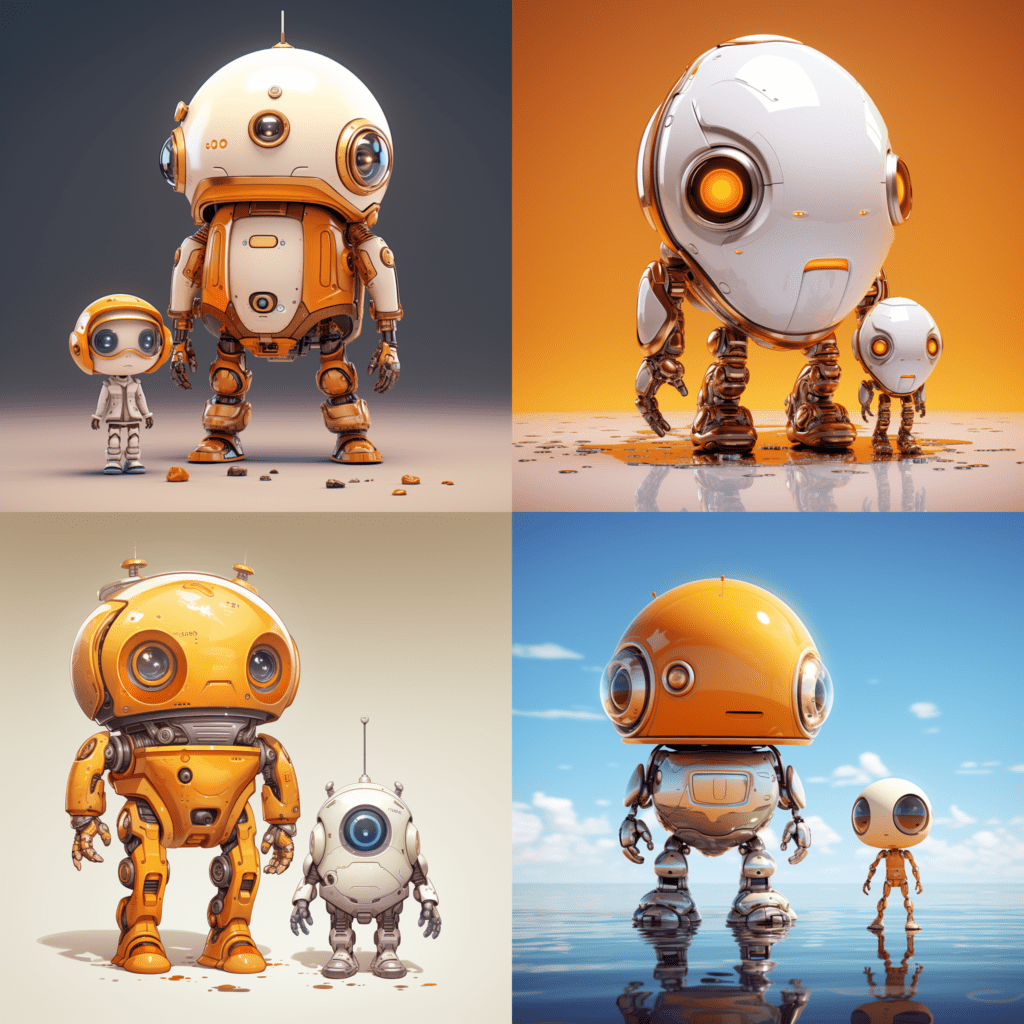
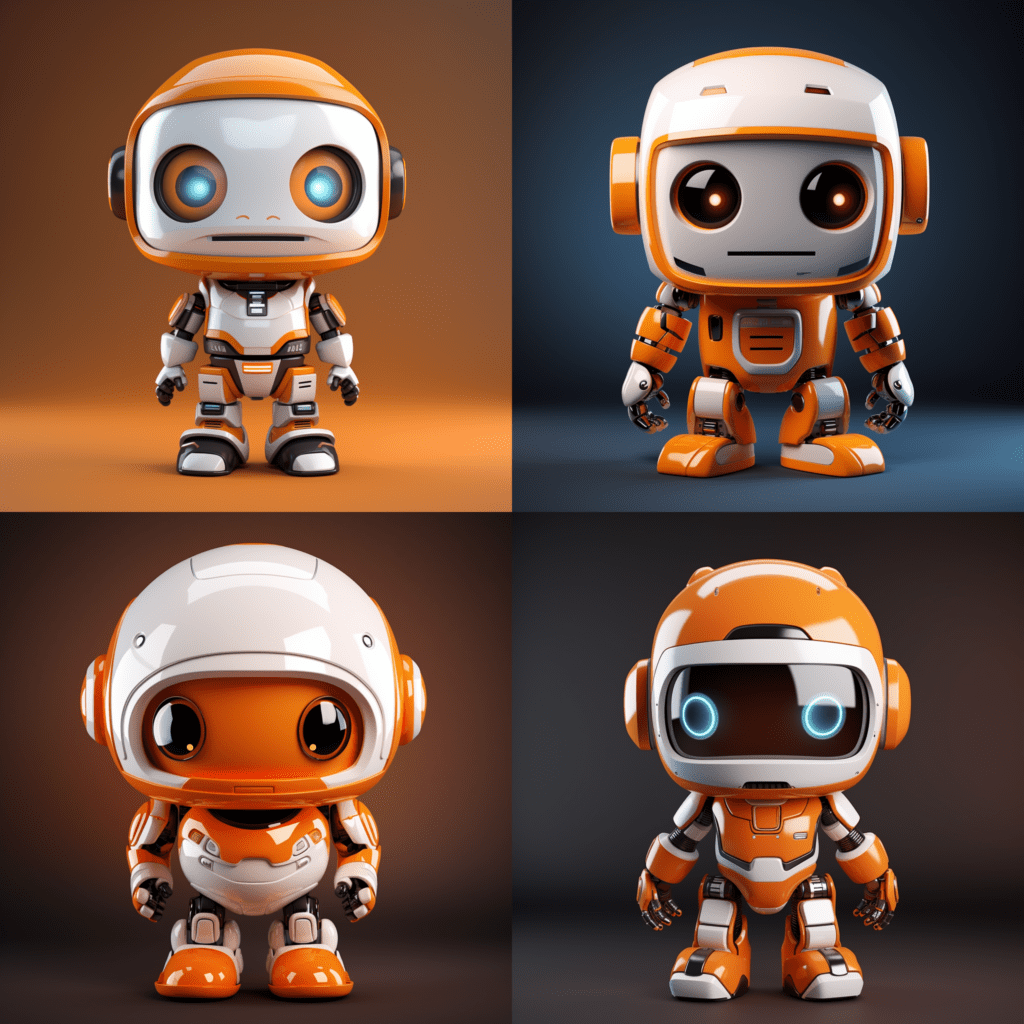
So now we can see the effect of starting with an image, converting it to a textual description and recreating the image. Some aspects of the image that we see that have changed:
- The white background of the first image is not there anymore. All images have other colors in the background, making it harder to use in web-pages or presentations.
- Only one of the descriptions was able to recreate the two robots with one ‘adult-like’ and one ‘child-like’ robot. The other ones gave descriptions of single robots, or described the young robot as a human.
- In description 1, the impact from ‘seapunk’ seems to be pretty big, creating more submarine robots.
- From description 2 and 4, the robots seem to good in the style we want, but the robots seem a bit angry.
- Overall, description 4 seems to be the best fit to our sample image.
All in all, we have a decent style foundation but would like to tweak it a bit more before we arrive at our goal.
6. Tweaking the output to our wishes.
Now, we’ll do a few sequential steps. I’ll do these step-by-step to show you the impact of every step. However, if you want you can all integrate these into one. We’ll use the /imagine command to create images now. We’ll take the description of 4 as our basis and go from there. We can copy paste this description, and add extra descriptions after it with a comma.
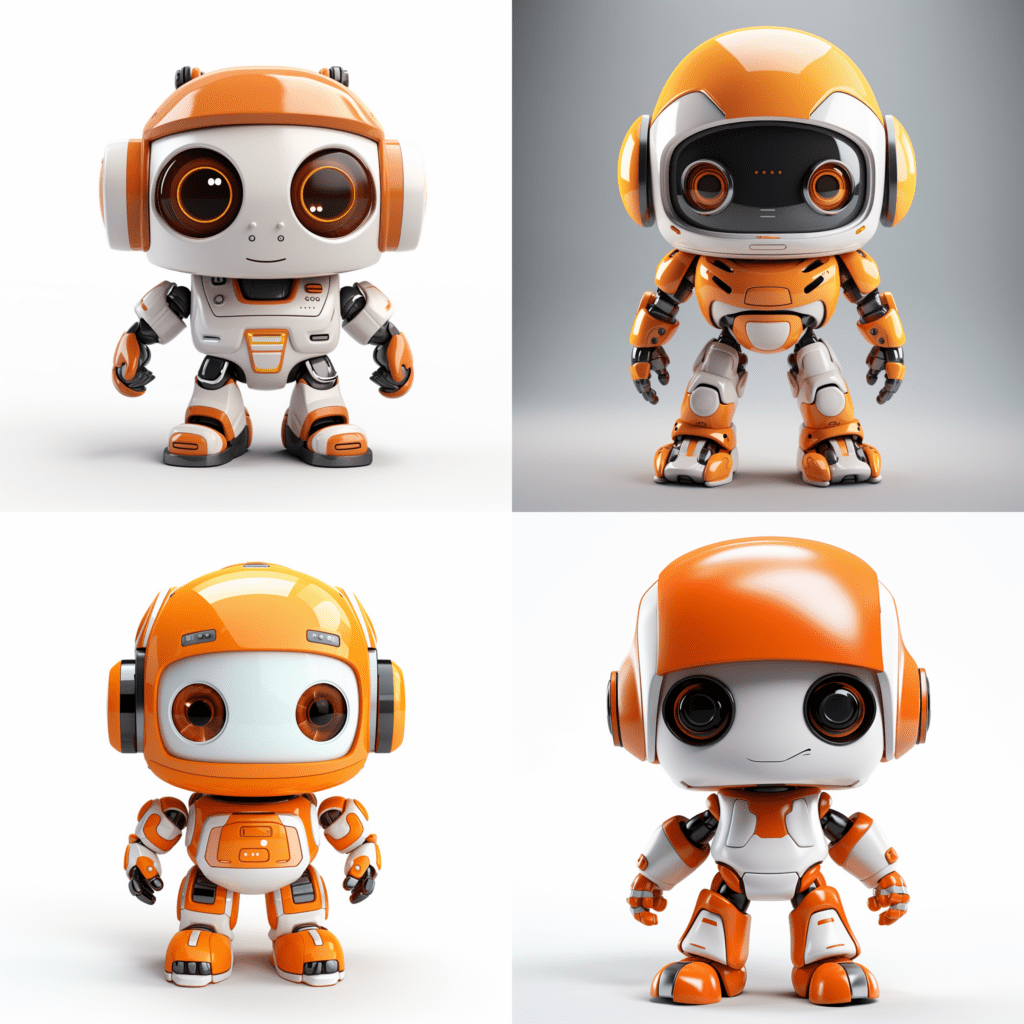
First we’ll make our background white. This will make the image more useable and it’ll be easier to remove the background in a presentation or on a website. We’ll do this by adding white background to the prompt.
Now we have our basic robot, but we want to converge to our own style. As we want to create a starbucks robot drinking a coffee, we first want to make the robot green. Here it is not enough to add green at the end, because we also need to remove the orange from the prompt. Let’s see how it looks when we change orange for green:
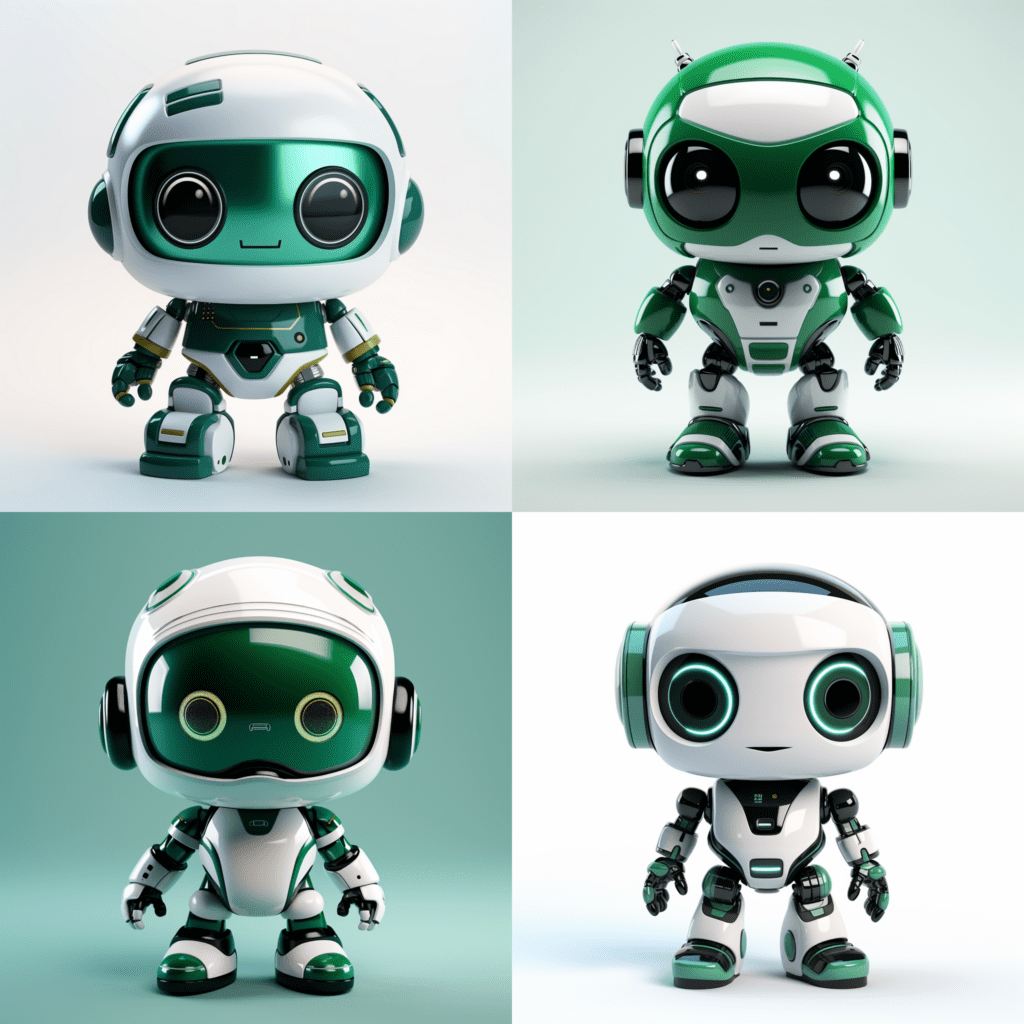
See the effect? By only changing the color Midjourney is able to take into account all the different shades of green which are in the robot, while keeping the same style.
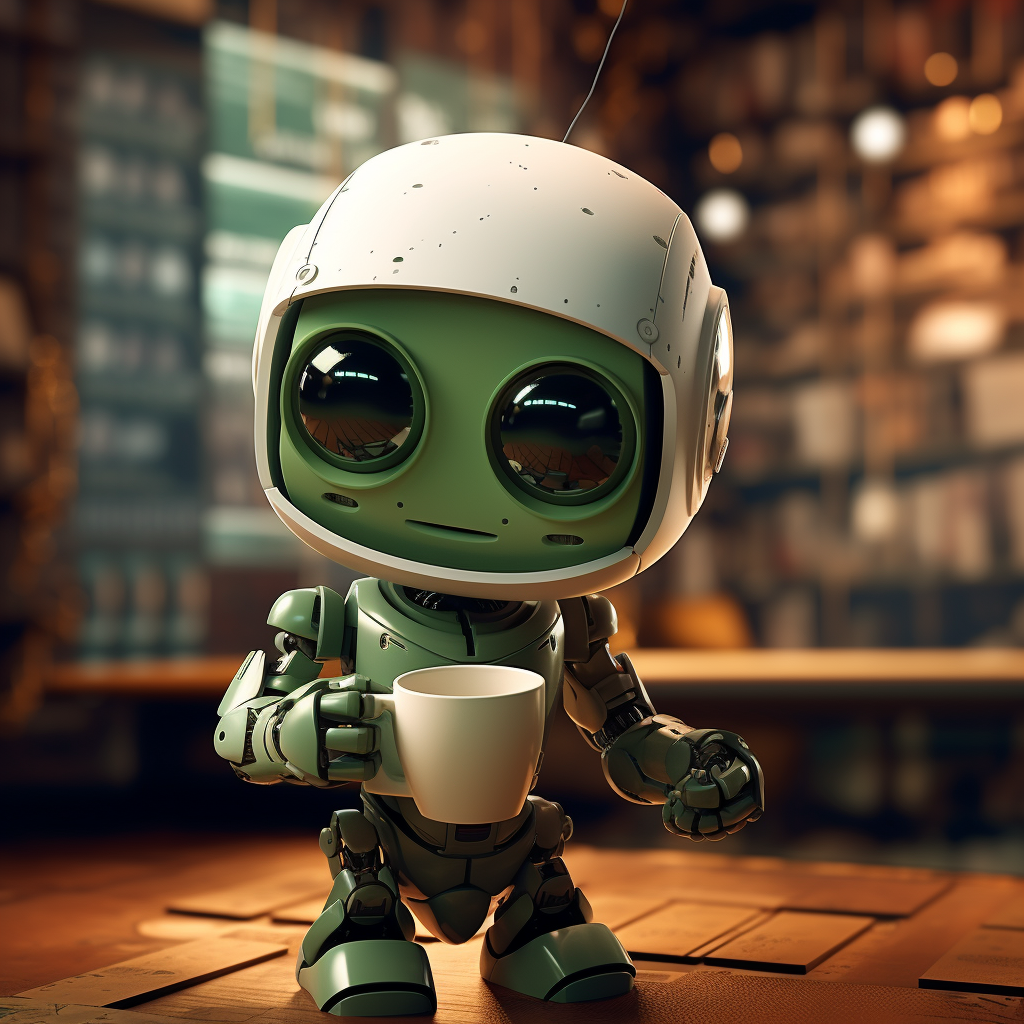
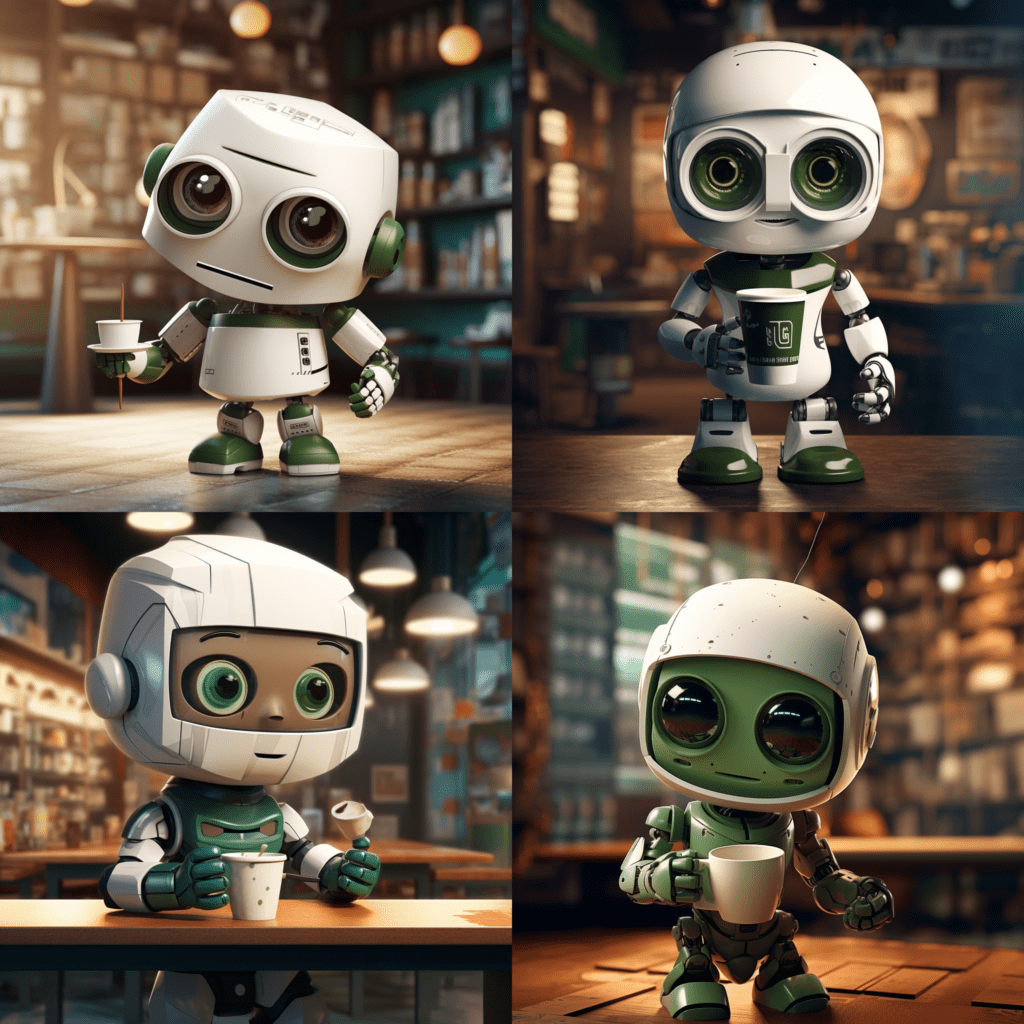
Now, let’s put in some action. By adding an action at the beginnning, it has more impact. So we’ll add drinking a coffee in the beginning to get some action in this little fella.
So here we are. We see that the quality of the outputs is deviating again, where there are 3 with a cup of coffee (one is a bit camouflaged), and all in different poses. We now have a decent robot which would be usable as a small mascotte on the socials. There are of course more things you can add now:
- Surrounding. Try to add a cafe and see how this robot would find his place in a hipster coffee place. If you are doing this, it might be good to remove your
white background. - Mood. Try to add emotion to your prompt, such as happy or sad. This will heavily influence the image and can be used to connect more to the topic you want to use the image for.
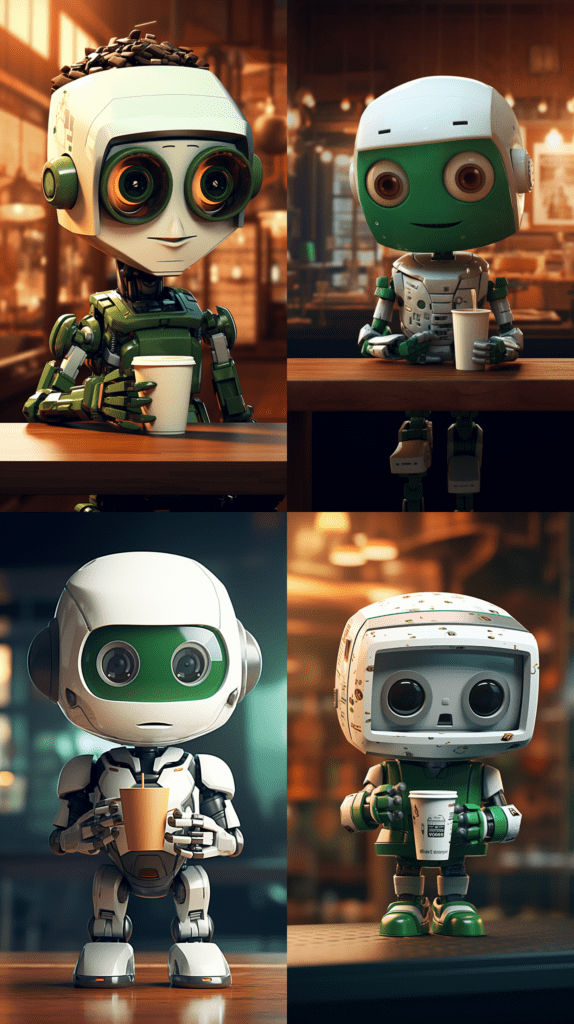
Adding both of these we can see the following result.
So there are some weird things starting to happen now. The first robot has a spike through his hand and cup, the second makes his cup float. However, we’re getting closer to our robot in the Starbucks.
7. Changing the aspect ratio
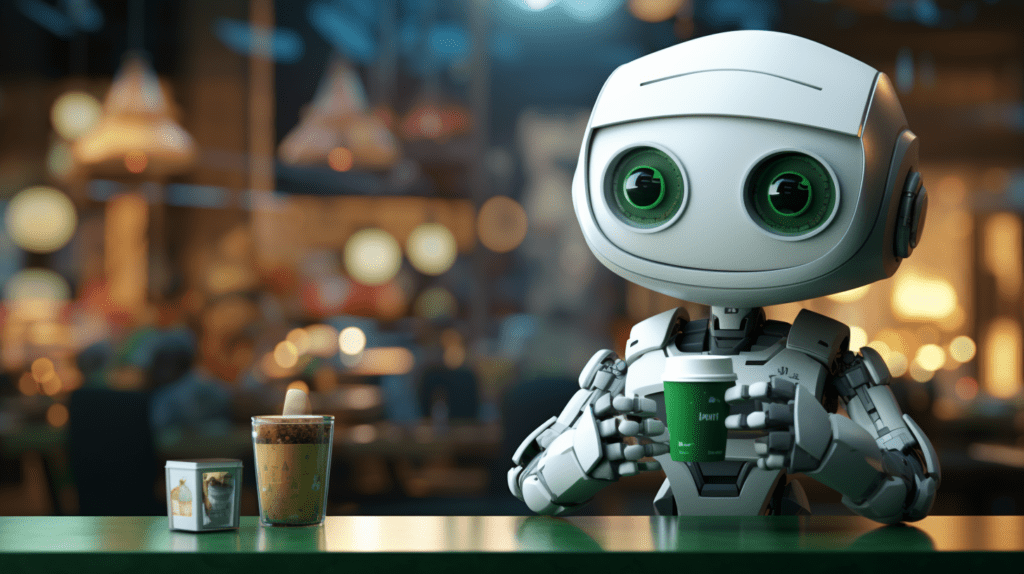
To make the image more interesting, we can change the aspect ratio. This can be very useful when you want to use an image for a banner on a website for example. Let’s see what happens when we do this. To do this we add a parameter after our prompt. In the case of aspect ratio we put --ar 16:9 as an example. Here, we first define the horizontal ratio and secondly the vertical ratio. Let’s see what happens when we use 16:9, and compare this to 9:16.
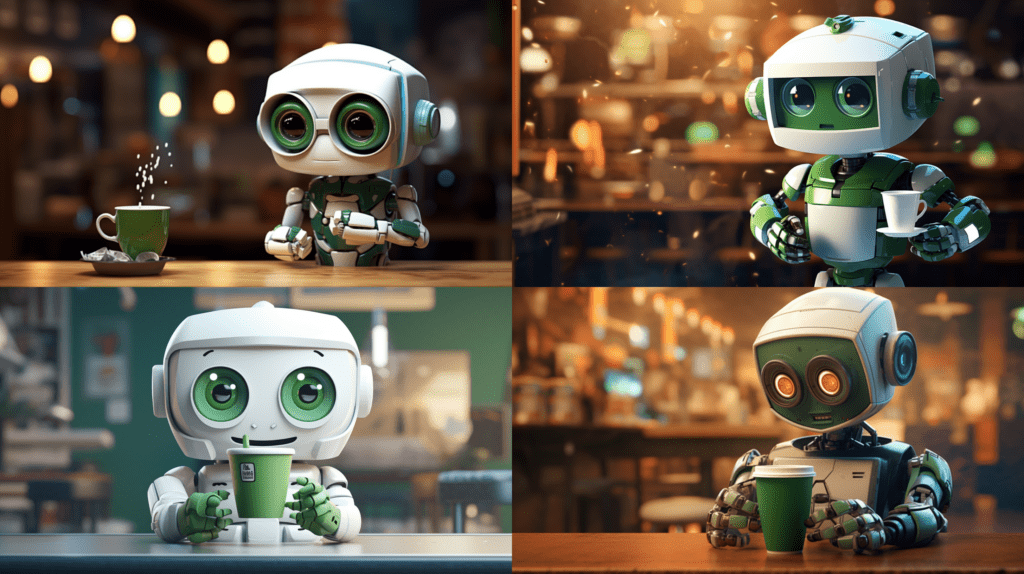
You see what happens? For the horizontal images, there is more room for a tale, a cup on the table or some space of the cafe. For the vertical images there are more full-body-shots, having the whole robot standing and more detail on the rest of the body.
When using the 16:9 aspect ratio, you get a more movie-like feel, because many movies are shot in this ratio. To give our robot some hollywood allure, we can add cinematic scene to the prompt. This way, it’ll feel more lively and movie-like.
What is the difference here? We see a bit more movement, and the lighting is more lively. It feels more like we’re watching a day of our robot friend instead of that he is posing for us.
8. Upsampling
When we press the U in Midjourney (as you may have already done if you’ve come this far) we upsample the image. So instead of the block of 4 images we can see the single image.
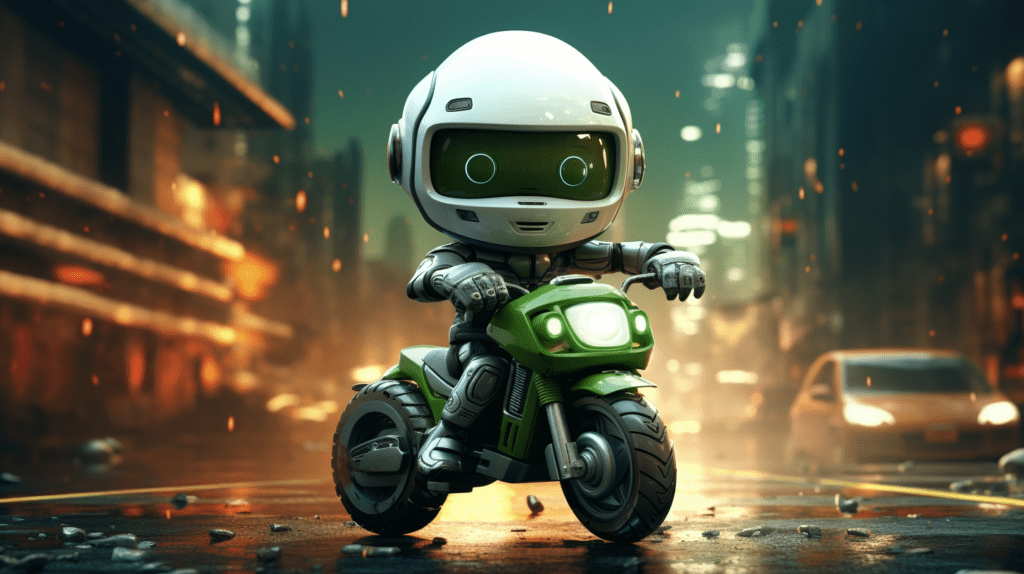
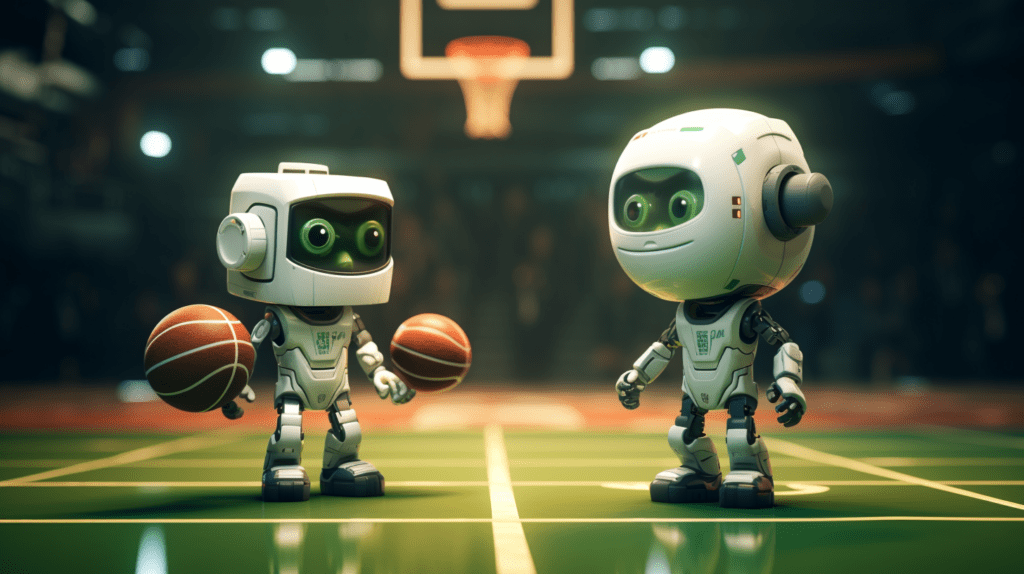
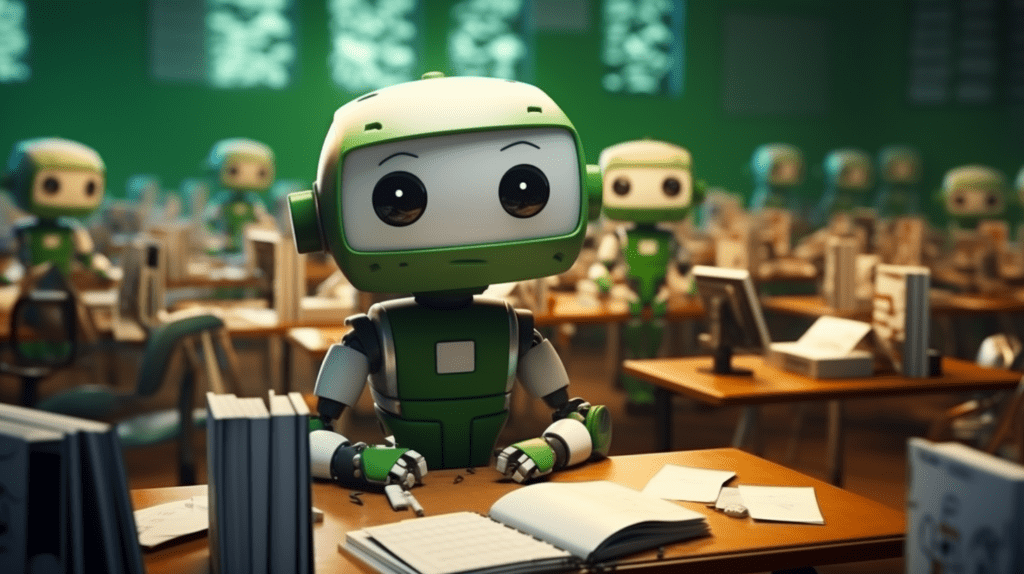
Now, we can use this image wherever we want. And even better, because we have the prompt, we can put our robot at different places as well. What about basketball, on a motor or in a classroom? This can be used for the different aspects of the site, such as ‘How to get there’, ‘Employee Benefits’ and ‘Societal Impact’ pages.
Conclusion
We started off with an image we took from the internet. From there, we used describe to get a textual description of the style of our image. We continued to tweak this image, to get it closer to the style that we wanted. At the end, we used aspect ratio and cinematic scene to create an image in the style that we needed.